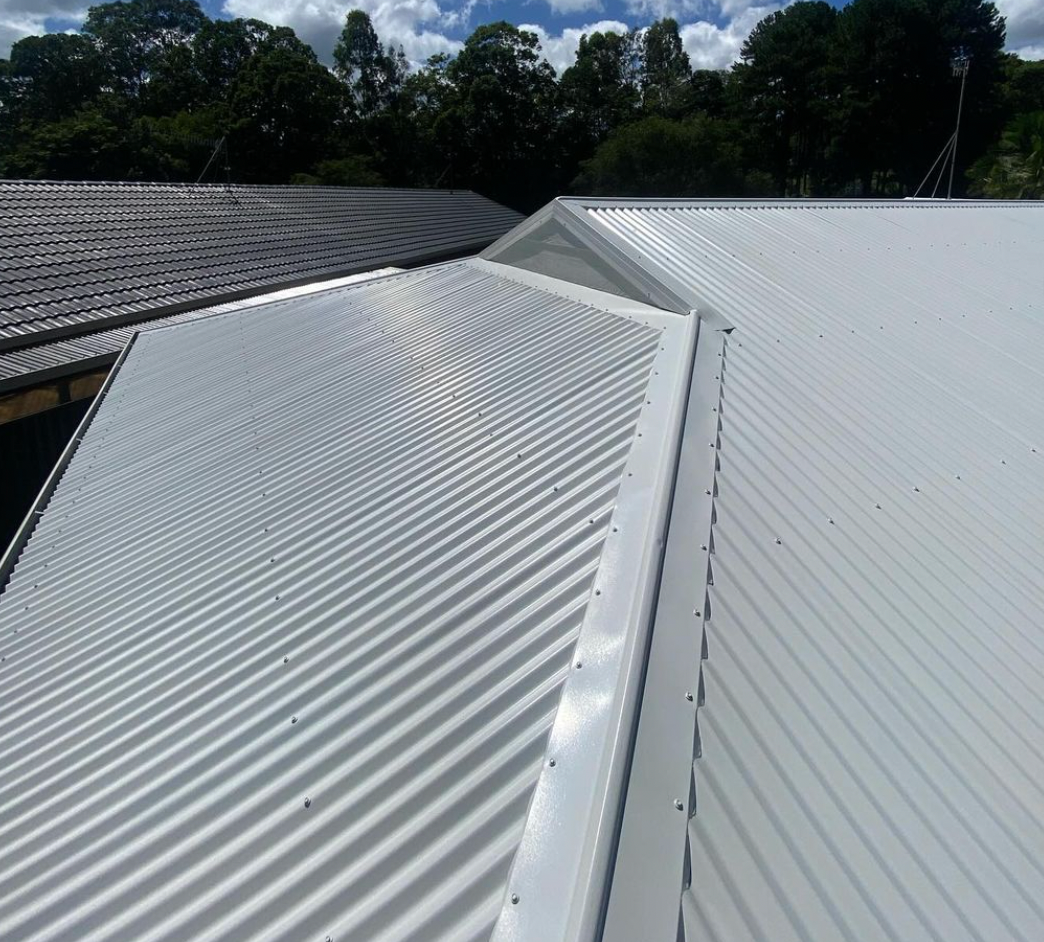
How To Prepare Roof Tiles For Painting
Preparing roof tiles for roof painting involves inspecting the roof, repairing damage, removing dirt and loose coatings, treating organic growth, allowing the tiles to dry and applying the appropriate primer or sealer. Each stage helps create a sound surface for the new roof coating.
While choosing a colour is often the exciting part, preparation has a major influence on the finished result. Painting over dirty tiles, damaged mortar or peeling paint can leave you with a roof that looks refreshed initially but develops problems underneath.
At Refresh Roof & Exterior Restorations, we believe homeowners should understand what goes into a roof restoration before committing to one. This guide explains how to prepare roof tiles for painting, what needs checking and why taking shortcuts can affect the finish.
Why Is Roof Preparation So Important?
A roof coating needs a suitable surface to bond to. If that surface is covered in dirt, loose material or deteriorating paint, the coating may attach to the contamination rather than the tile beneath it.
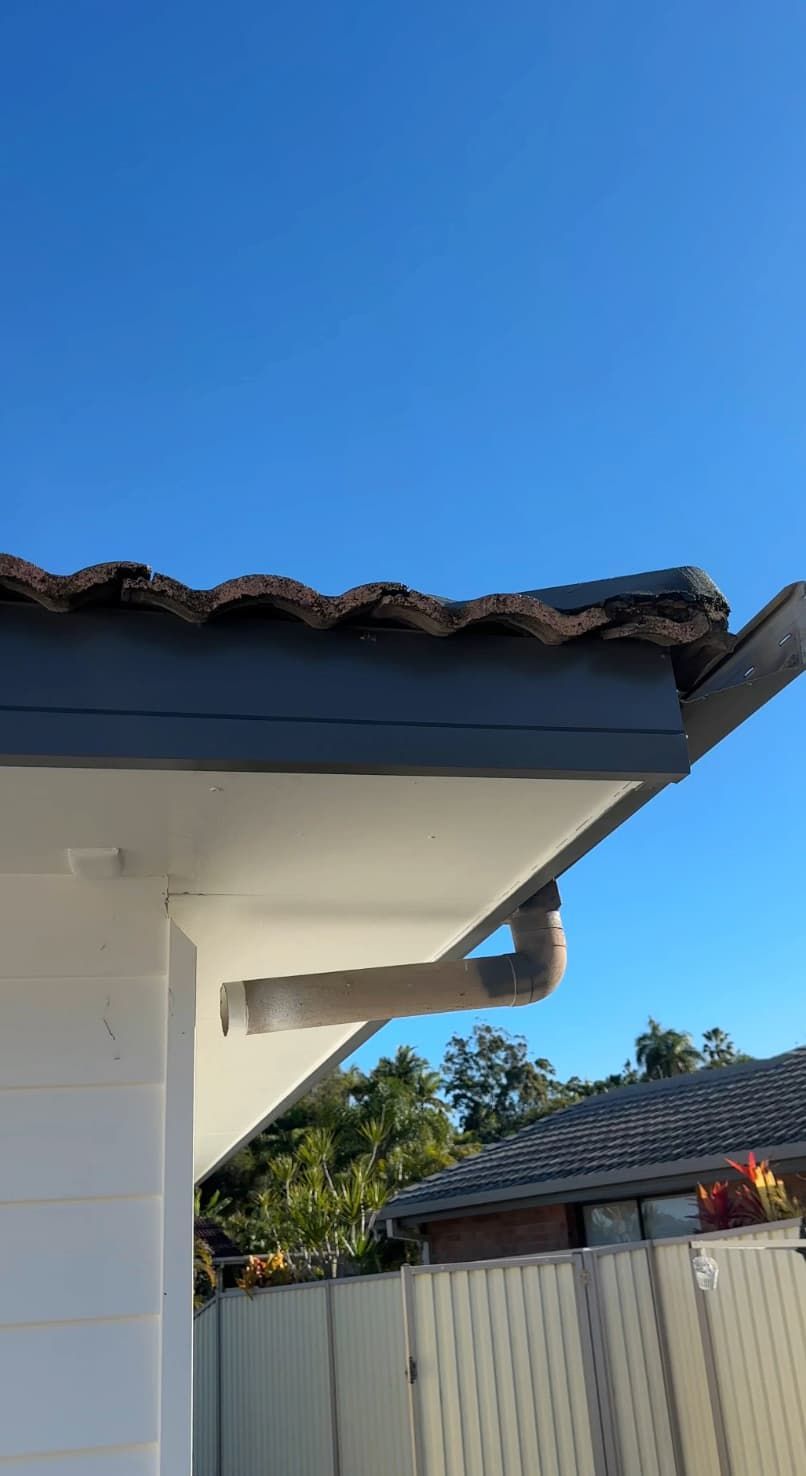
Preparation also provides an opportunity to identify problems that a colour change cannot fix. A cracked tile still needs replacing, and loose ridge capping still needs attention, regardless of how many coats of paint are applied.
For Gold Coast homeowners, it makes sense to consider the whole roof rather than its appearance alone. Before choosing a new colour, find out whether the tiles, ridge capping and associated roof components are in suitable condition for restoration.
The goal is a clean, stable roof that is ready for the selected coating system.
1. Identify Your Roof Tile Type
Start by identifying whether your roof has concrete or terracotta tiles. They require different coating decisions.
Concrete Roof Tiles
Concrete tiles are commonly considered for roof painting, but their condition determines the preparation required. A surface with some original colour remaining may need a different primer from a heavily weathered, pitted or powdery tile.
The assessment should also establish whether the tiles have previously been painted. An existing coating introduces another layer that needs checking before a new system can be applied.
Terracotta Roof Tiles
Terracotta tiles should be assessed individually rather than treated like concrete. Their surface finish, condition and compatibility with the proposed coating all matter.
Specialist systems exist for suitable terracotta tiles, including certain glazed surfaces. However, this does not mean every terracotta roof should be painted. The primer must be specifically suitable for the tile surface and used with compatible topcoats.
If you are unsure which tiles you have, arrange an inspection before buying paint or booking a roof restoration.
2. Inspect The Roof Before Cleaning
A roof inspection should happen before cleaning starts. This helps identify damage that could allow water into the roof during washing, as well as issues that need repairing before painting.
Areas to check include:
- Cracked, broken or displaced tiles.
- Loose ridge and hip caps.
- Deteriorated bedding or pointing.
- Damaged flashings and valley components.
- Signs of previous leaks.
- Peeling or poorly bonded coatings.
- Tiles that appear excessively worn or fragile.
Water stains inside the home should also be investigated. Painting the roof surface is not a substitute for identifying the cause of a leak.
This inspection helps answer an important question: is the roof suitable for restoration? Where tiles are extensively deteriorated or there are broader structural concerns, further repairs or replacement may be more appropriate.
3. Plan Safe Access And Protect The Property
Roof preparation involves working at height, often on uneven surfaces that become slippery during cleaning. Professional access and fall protection should be planned before anyone starts work.
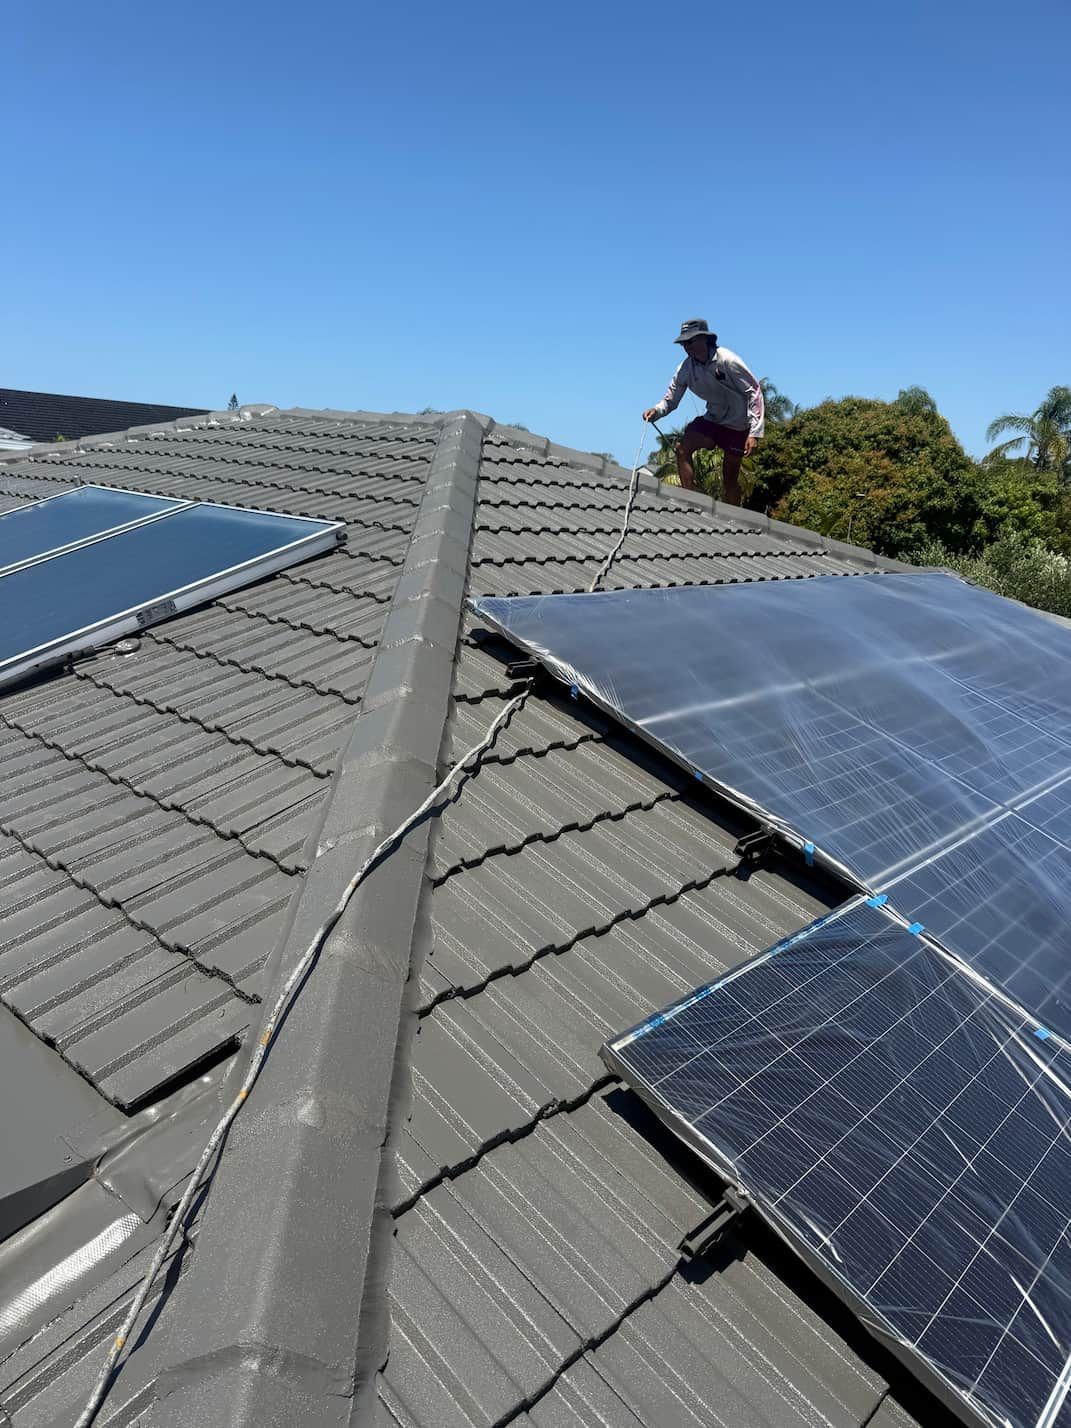
Homeowners can help prepare the property by moving outdoor furniture, vehicles and other belongings away from the work area. Let the contractor know about delicate plants, ponds, solar panels and anything else that needs protection.
If your gutters feed a rainwater tank, discuss how cleaning runoff and coating contamination will be kept out of the tank. The drainage arrangement needs to be considered before washing begins.
It is also useful to confirm access requirements and keep children and pets away from the work area.
Good preparation includes looking after the property below the roof as well as the tiles themselves.
4. Replace Damaged Tiles And Address Leaks
Broken tiles should be replaced before coating. Painting over a crack will not provide a dependable repair, and a coating cannot restore the strength of a damaged tile.
Replacement tiles need to match the existing profile so they sit correctly within the roof. A tile that looks similar may still have a different shape or interlocking arrangement.
Known leaks should be investigated and repaired as part of the preparation process. Depending on the cause, this may involve tiles, flashings, valleys or other roof details.
The timing of repairs and cleaning should be planned around the roof’s condition. Essential repairs may be needed before washing, while other defects become easier to assess once dirt and growth have been removed.
The priority is to have a sound roof before the coating stage begins.
5. Clean The Roof Tiles Thoroughly
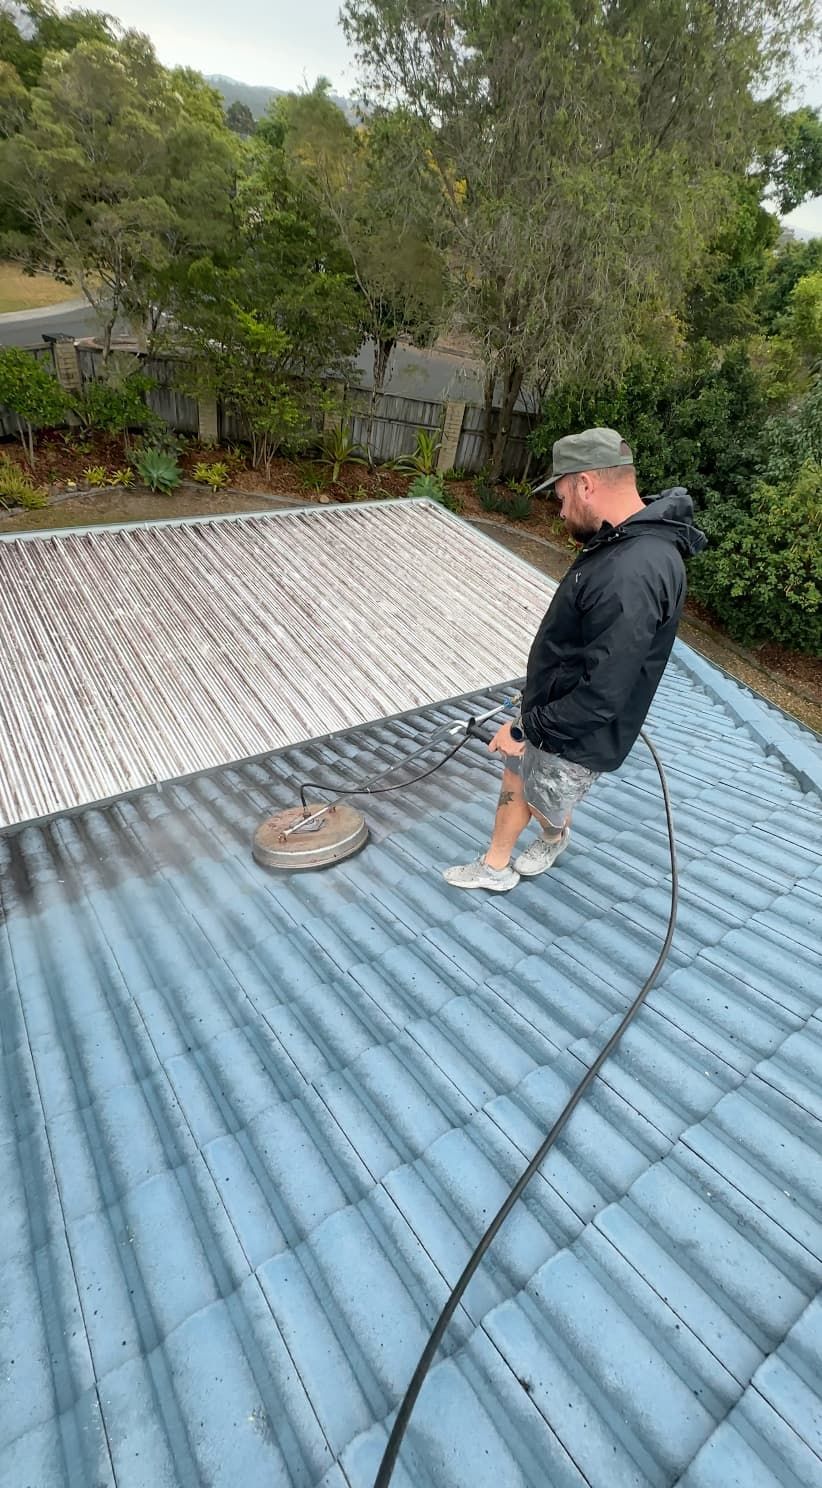
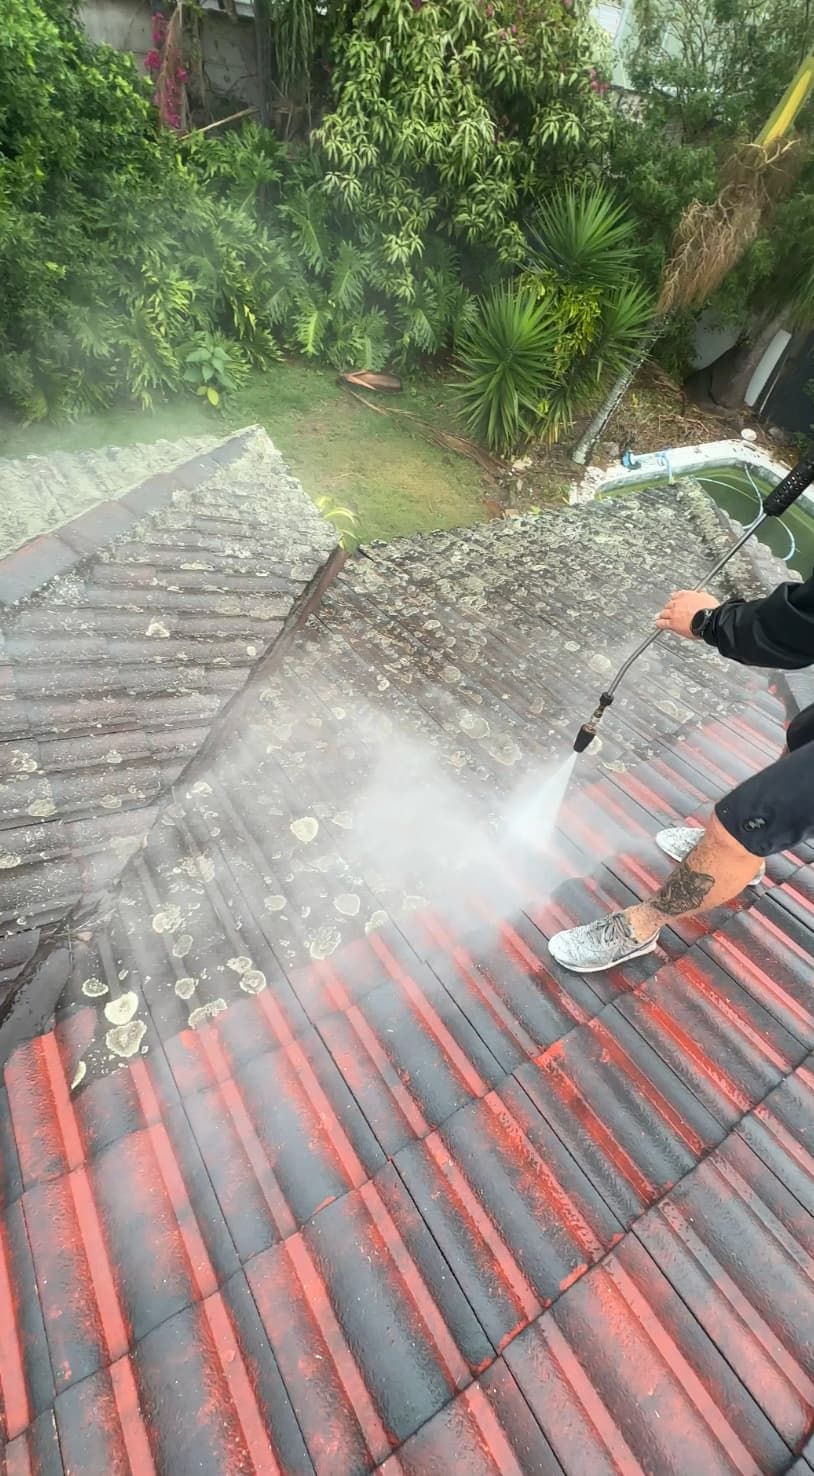
Roof cleaning removes contamination that could interfere with the new finish. This may include dirt, accumulated debris, biological growth and loose remnants of previous coatings.
Cleaning must suit both the roof and the coating specification. There is no single pressure setting that homeowners should assume is appropriate for every tiled roof.
A contractor needs to consider tile condition, equipment, nozzle selection and washing technique. Poorly controlled cleaning can damage fragile surfaces or force water into places it should not go.
Paying attention to difficult areas matters too. Tile profiles, ridge details and sheltered sections can retain contamination that is easy to miss during a quick wash.
After cleaning, the roof should be assessed again. Removing surface buildup often gives a clearer picture of the tiles and any remaining preparation work.
6. Treat Moss, Algae And Lichen Where Required
Removing visible growth is one part of preparing an affected roof. The selected coating system may also require a treatment to address remaining biological contamination.
Use products approved for the roof surface and follow their instructions. Treatment timing, dilution, contact time and rinsing requirements vary.
Some products are designed to remain on the surface, while others require rinsing. Assuming every roof treatment works the same way can lead to mistakes.
Follow the specified sequence for cleaning and treatment, rather than choosing an order based on convenience.
7. Check Existing Paint And Repair Ridge Capping
Previously painted tiles need careful assessment. Any coating left underneath the new finish must be sound and compatible with the proposed system.
A fresh coating cannot make a failing layer underneath it secure. Loose paint needs addressing, and the contractor may need to carry out adhesion checks before deciding how to proceed.
Ridge capping should also be inspected. Bedding is the mortar supporting the caps, while pointing is the exposed finishing material along the bedding edges.
Where bedding remains sound, repointing may be appropriate. Loose caps or deteriorated supporting mortar can require more substantial work.
Manufacturer guidance distinguishes between sound existing coatings, tile conditions and suitable preparation systems, so these decisions should be made before painting starts.
8. Allow The Roof And Repairs To Dry
Once cleaning and repairs are complete, the roof needs to meet the coating manufacturer’s requirements for dryness and curing.
A tile that looks dry on top may still retain moisture. Shaded areas and sections affected by recent rain may dry differently from exposed parts of the roof.
Avoid relying on a blanket rule such as “paint the next morning”. The appropriate interval depends on the materials, conditions and products being used.
Repair materials also need the required curing time before coating. Trying to compress the schedule can compromise an otherwise carefully prepared roof.
A suitable weather window should allow enough time for preparation, drying, priming and painting.
9. Apply The Correct Primer Or Sealer
Primer selection should follow the tile assessment, rather than simply choosing a product labelled “roof primer”.
Concrete tiles in good condition, powdery tiles, pitted surfaces and suitable terracotta tiles can require different preparation products. Primers and sealers perform different jobs within a coating system.
The product must suit the substrate and be compatible with the intended topcoat. Apply it at the specified coverage rate and allow the required interval before recoating.
Using the correct product is only part of the job. Consistent application across the tile profiles and repaired areas matters too.
Primer should never be treated as a way to cover up dirt, loose paint or unresolved damage.
Common Roof Preparation Mistakes
Several shortcuts can affect the quality of a roof painting project:
- Painting before investigating leaks.
- Leaving broken tiles or loose ridge caps unrepaired.
- Coating over dirt or failing paint.
- Using a primer that does not suit the tiles.
- Rushing drying or repair curing times.
- Ignoring the coating system’s application instructions.
When comparing quotes, ask what preparation is included. A price for “clean and paint” provides little detail about tile replacement, ridge repairs, treatment or primer selection.
Understanding the scope helps you compare the work being proposed.
Can You Prepare Roof Tiles Yourself?
There are useful tasks homeowners can handle from ground level, including clearing access, moving belongings and pointing out known leaks.
Roof-level preparation is best left to professionals with suitable equipment and experience. It involves assessing tile condition, managing water during cleaning, completing repairs and selecting compatible products, as well as working safely at height.
A professional assessment can also help you avoid spending money on painting a roof that needs a different solution.
Prepare Your Roof For A Better Finish
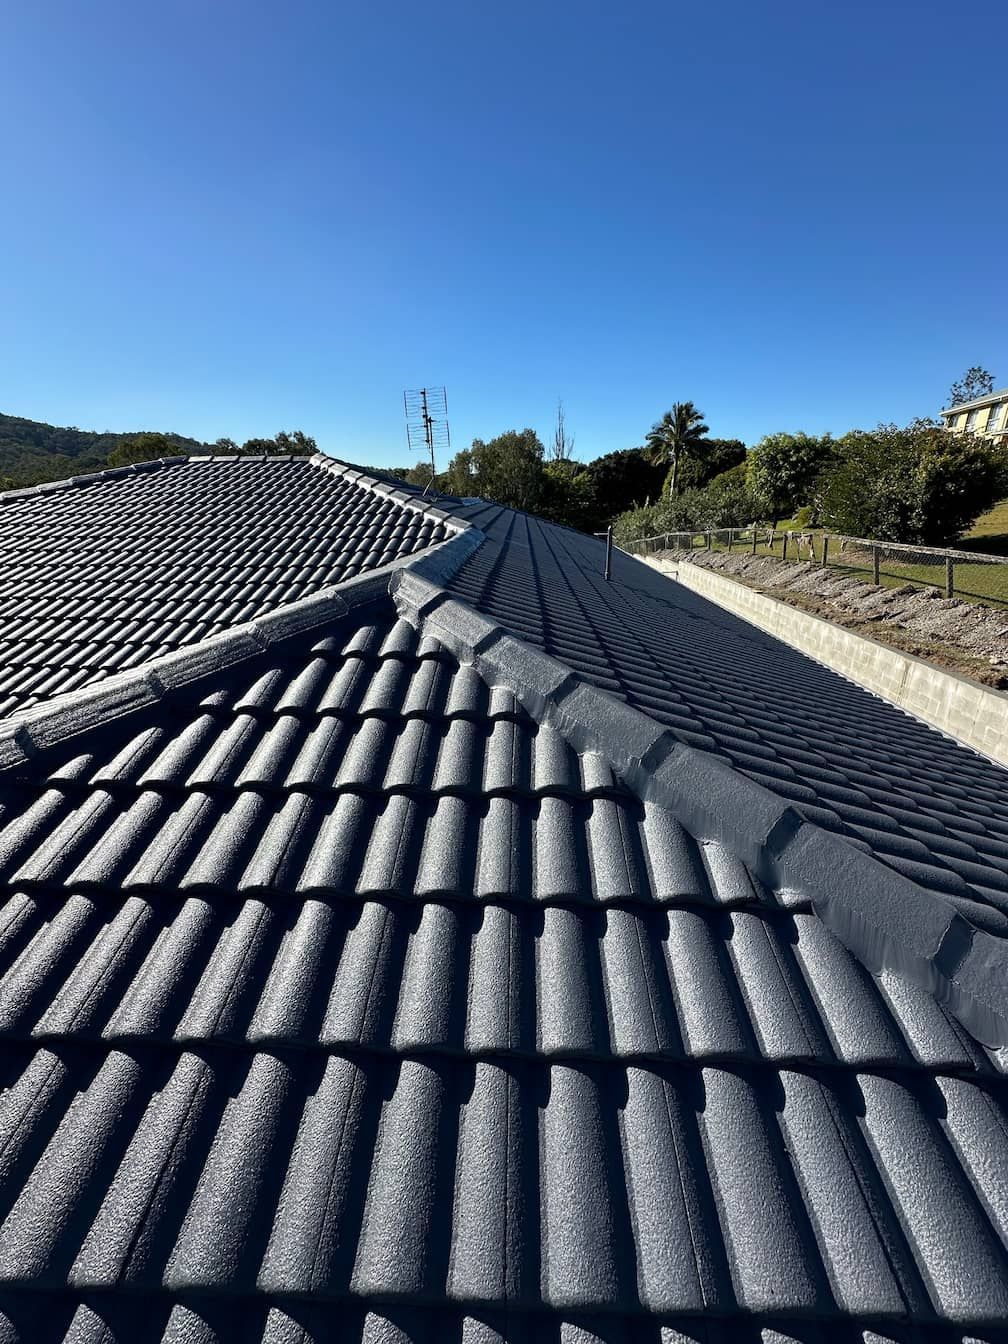
A successful roof painting project starts with understanding the surface underneath it. Inspection, repairs, cleaning, treatment, drying and priming all contribute to preparing the roof for its new finish.
At Refresh Roof & Exterior Restorations, we help Gold Coast homeowners explore their roof restoration options. If your tiled roof is faded, weathered or showing signs of damage, contact our team to discuss its condition and what preparation may be needed before painting.

Written by Reece Worboys
Reece has been in the Gold Coast roofing game for over 15 years and is a trade-qualified roof plumber and painter/decorator. He's also a QBCC licensed supervisor and roofing contractor.