How To Repair Roof Leak
A leaking roof is a problem that should never be ignored. Even a small leak can lead to serious damage inside your home, including mould growth, ceiling damage, and structural issues. The longer a roof leak is left unresolved, the more expensive the repairs can become.
The good news is that many roof leaks can be repaired once the source of the problem is identified. Whether the issue is a cracked roof tile, damaged flashing, or blocked gutters, repairing the leak quickly can help prevent further damage.
In this guide, we’ll explain common causes of roof leaks and the steps involved in repairing them.
Common Causes of Roof Leaks
Before repairing a roof leak, it’s important to identify what is causing the issue. Roof leaks can occur for several reasons, particularly as roofing materials age or after severe weather.
Some of the most common causes include:
- Cracked or broken roof tiles
- Loose or damaged flashing
- Blocked gutters or roof valleys
- Damaged roof sheets
- Worn roof sealants
- Poor roof installation
Identifying the source of the leak is the first step in determining the correct repair method.
Step 1: Locate the Source of the Leak
The first step in repairing a roof leak is finding where the water is entering the roof.
Water stains on the ceiling may help identify the general location of the leak, but the source may be several metres away due to water travelling along roof framing.
Inspect the roof space if possible and look for:
- Damp insulation
- Water stains on rafters
- Visible dripping
- Moisture around roof penetrations
Tracing the path of the water can help identify the entry point.
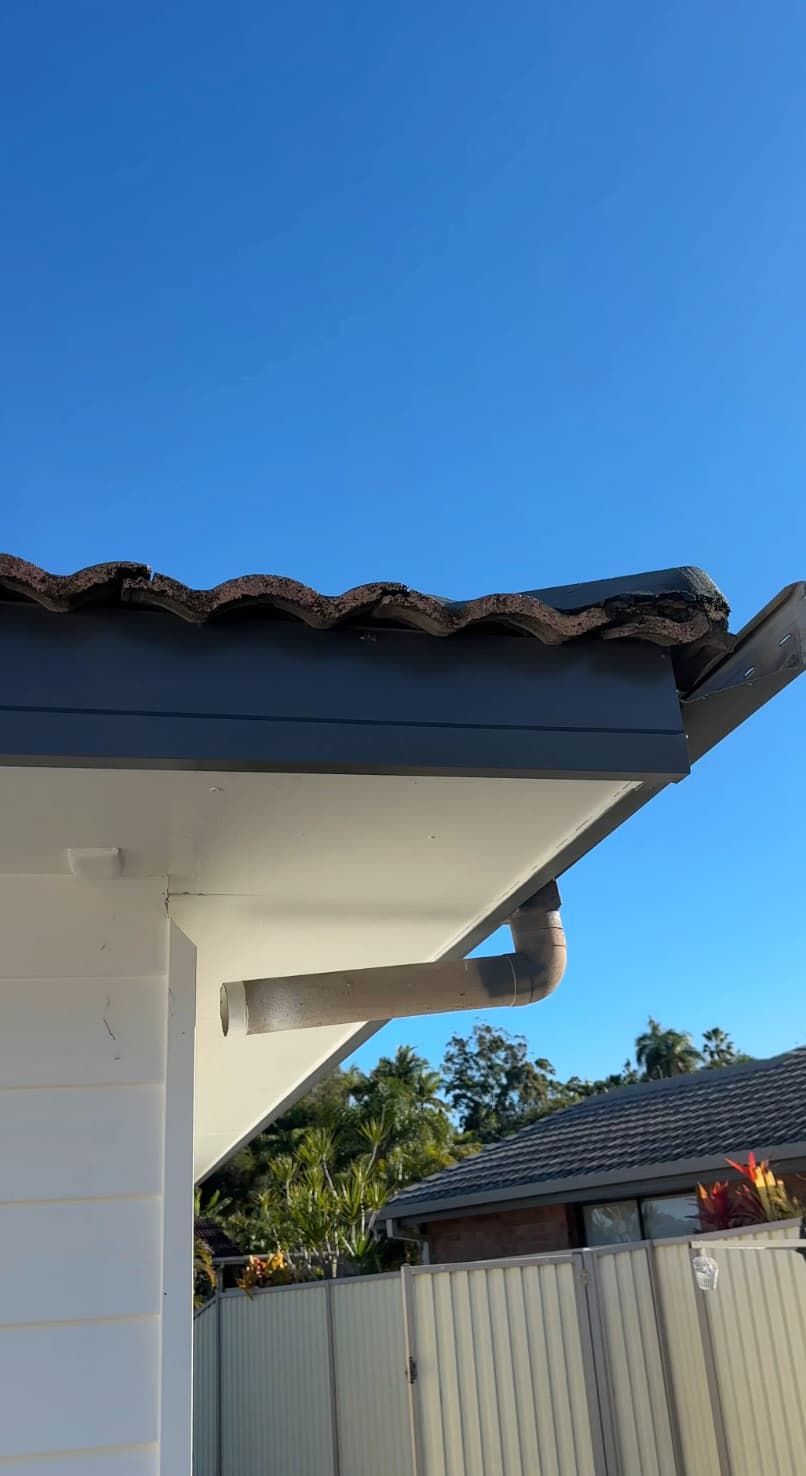
Step 2: Replace Broken or Cracked Roof Tiles
If the leak is caused by cracked or broken roof tiles, replacing them is usually a straightforward repair.
To replace a damaged tile:
Carefully lift the surrounding tiles to access the broken tile. Remove the damaged tile and slide a new tile into position. Ensure the tile sits correctly and overlaps properly with surrounding tiles.
Once replaced, check that the tile is secure and aligned with the rest of the roof.
Replacing broken tiles prevents water from entering the roof cavity during rain.
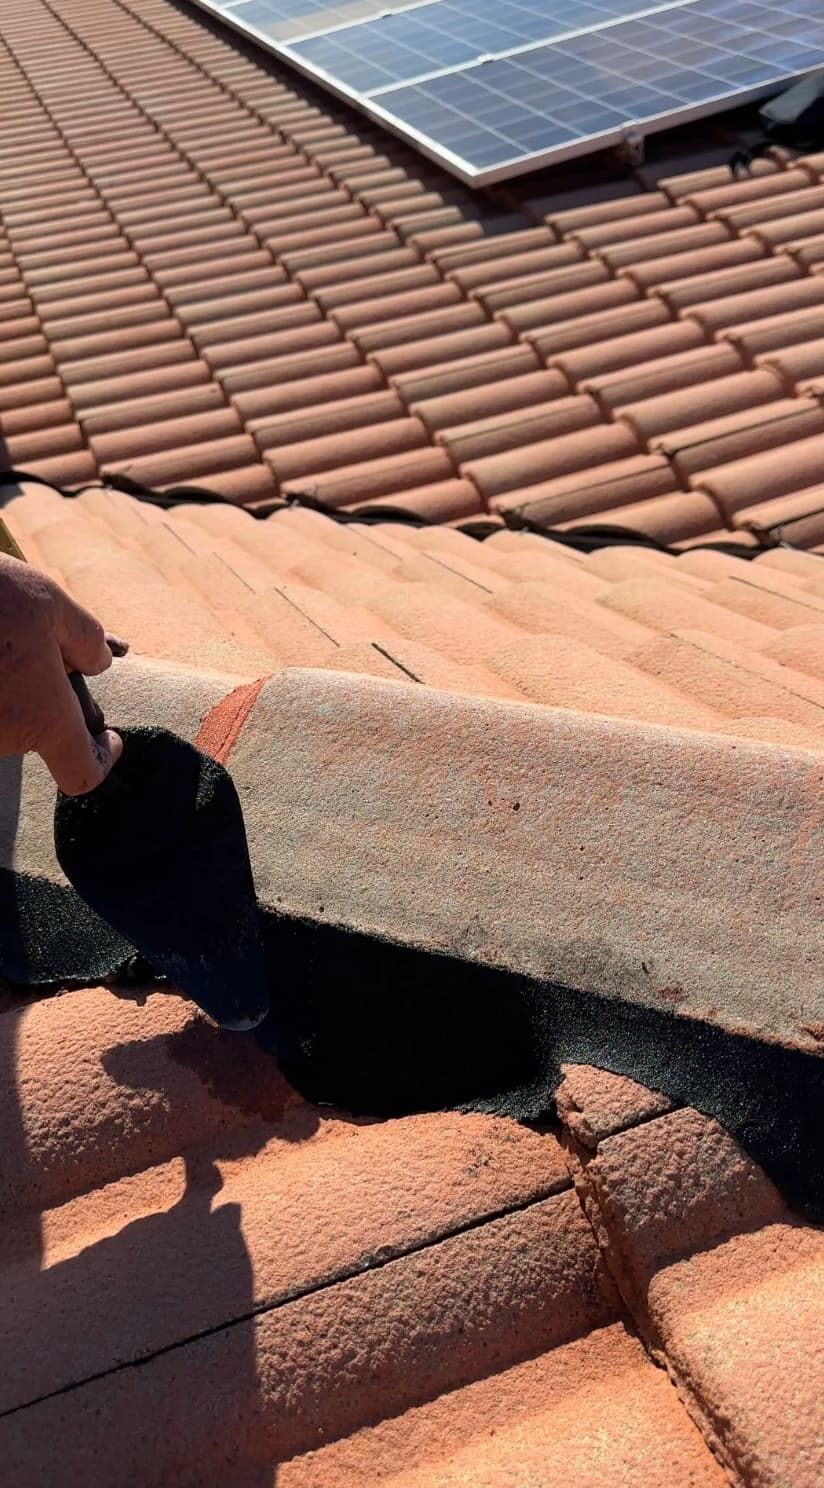
Step 3: Repair Damaged Roof Flashing
Flashing is used to seal areas where the roof meets other structures such as chimneys, skylights, or walls.
Over time, flashing can become loose, rusted, or damaged. When flashing fails, water can easily enter the roof.
Repairs may involve:
- Re-securing loose flashing
- Replacing damaged sections
- Applying roofing sealant to small gaps
In some cases, flashing may need to be completely replaced to restore a watertight seal.
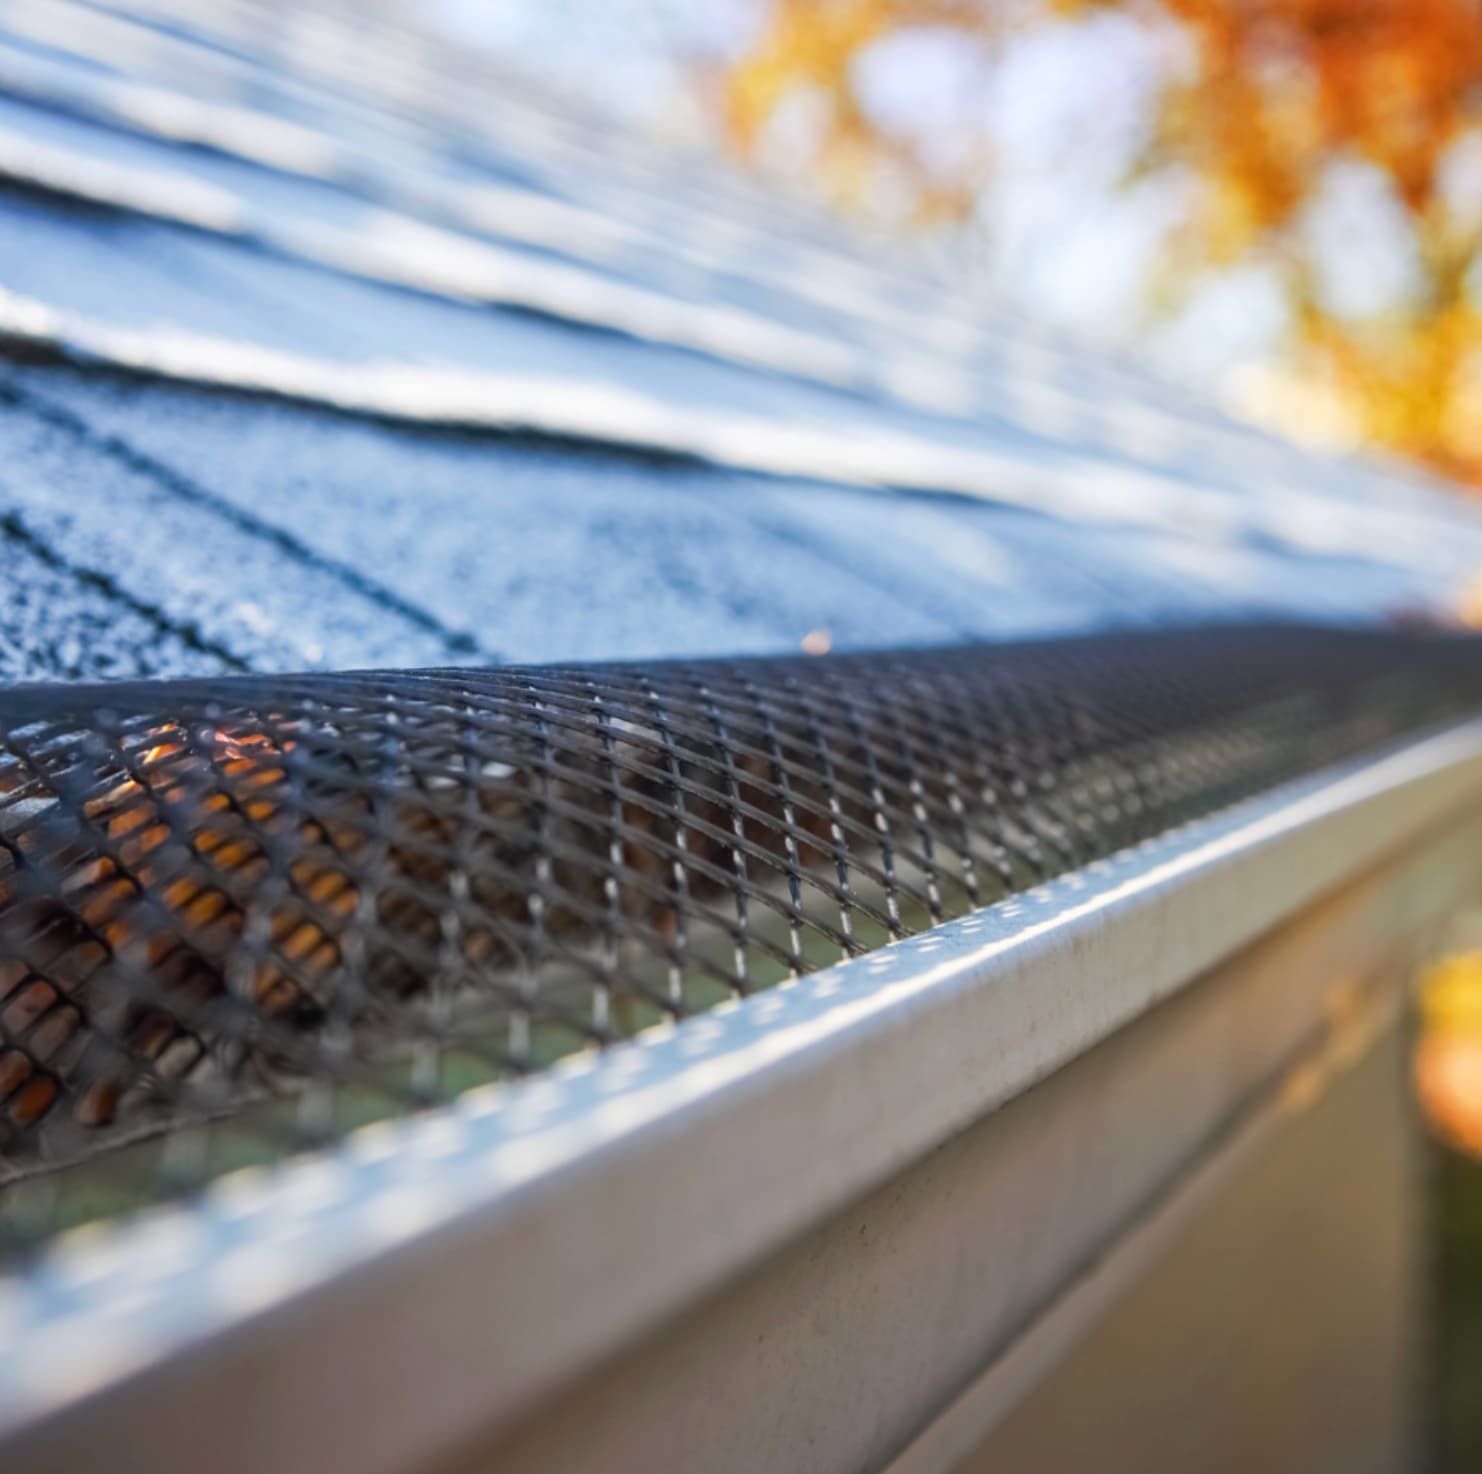
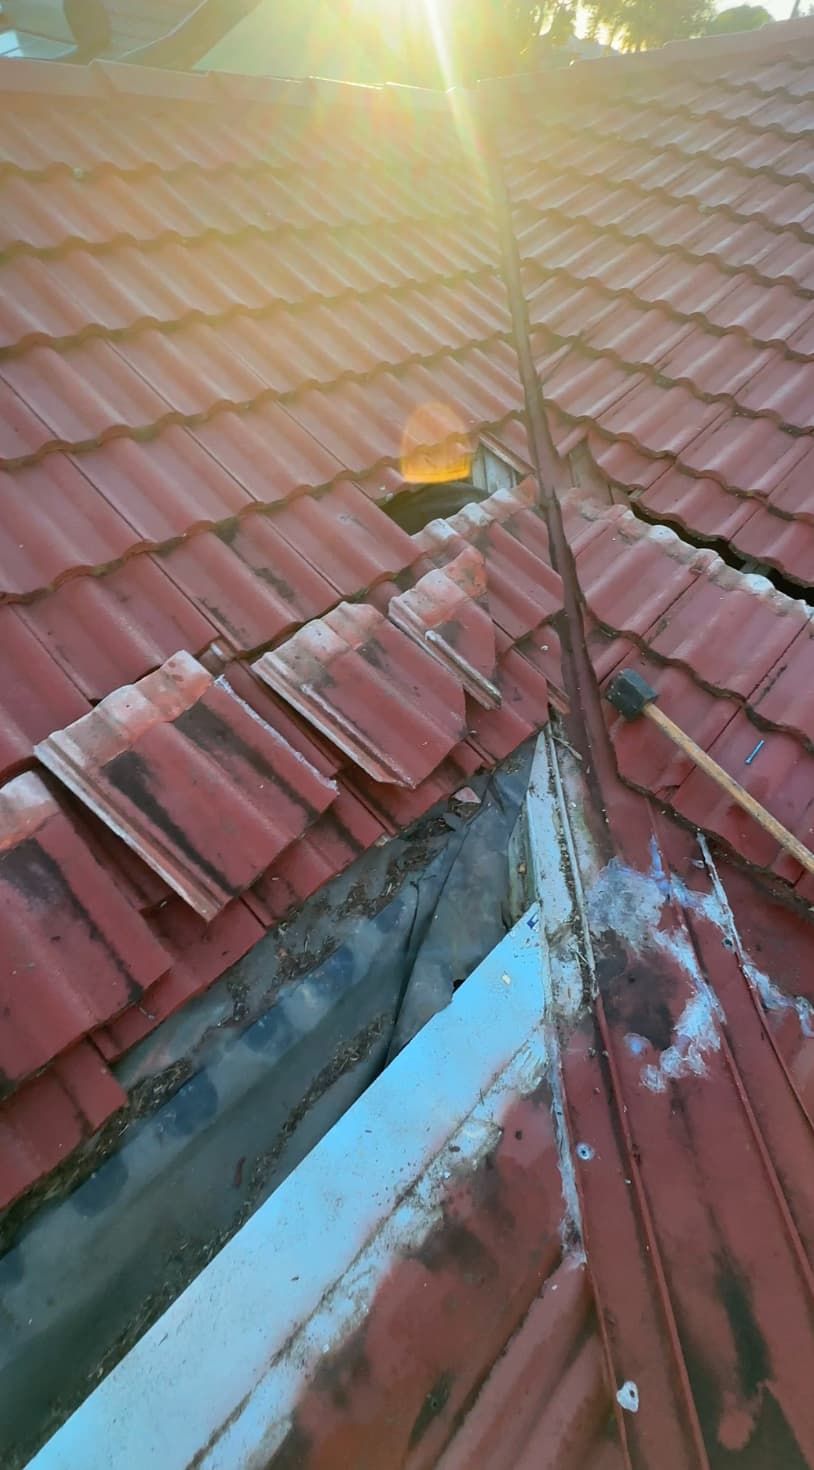
Step 4: Clear Blocked Roof Valleys and Gutters
Blocked gutters and roof valleys can cause water to back up under roofing materials, leading to leaks.
Leaves, debris, and dirt can accumulate over time and prevent water from draining properly.
To fix this issue:
Remove debris from gutters and valleys using gloves or a gutter cleaning tool. Once cleared, flush the gutters with water to ensure proper flow.
Keeping gutters clean helps prevent water from pooling on the roof.
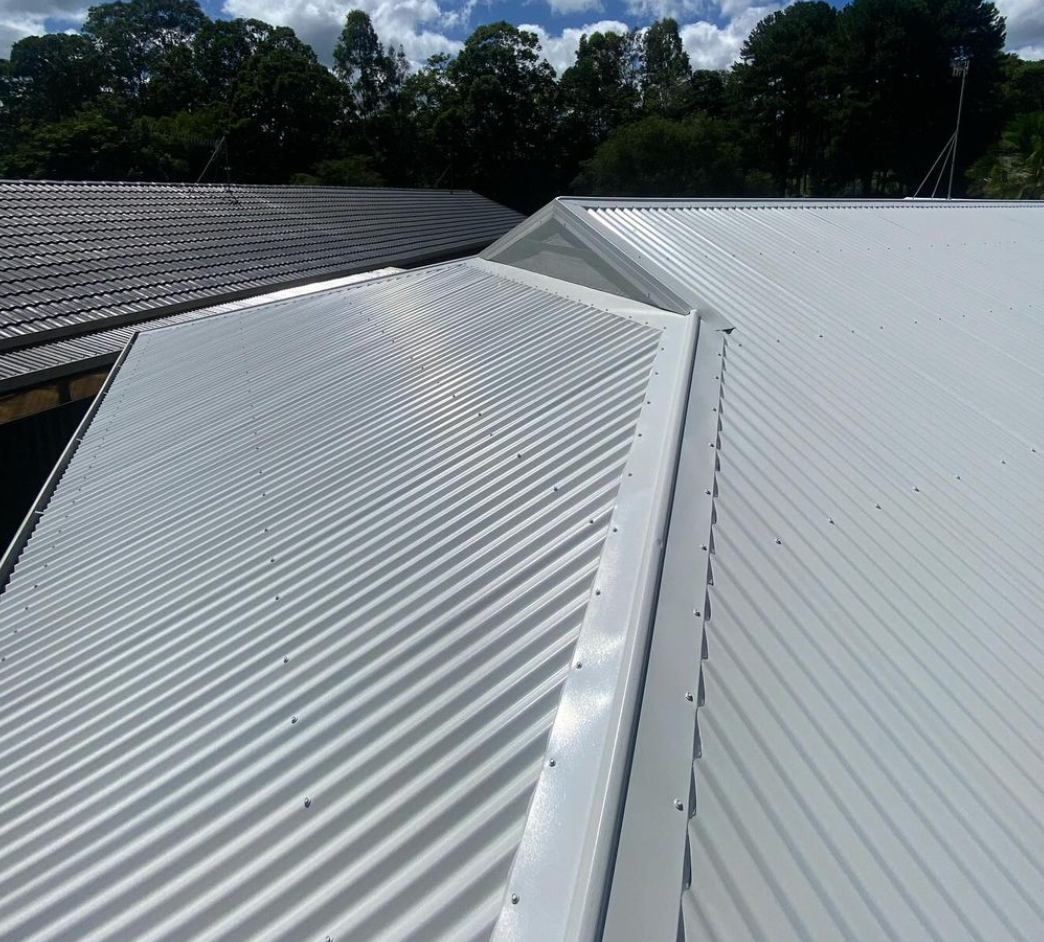
Step 5: Repair Roof Sheet Leaks
For metal roofs, leaks may occur where roofing sheets overlap or where fasteners have become loose.
Repairs may involve:
- Tightening or replacing roofing screws
- Sealing gaps with roofing sealant
- Replacing damaged sections of roofing sheet
It’s important to ensure that roofing screws are properly sealed to prevent water entering around them.
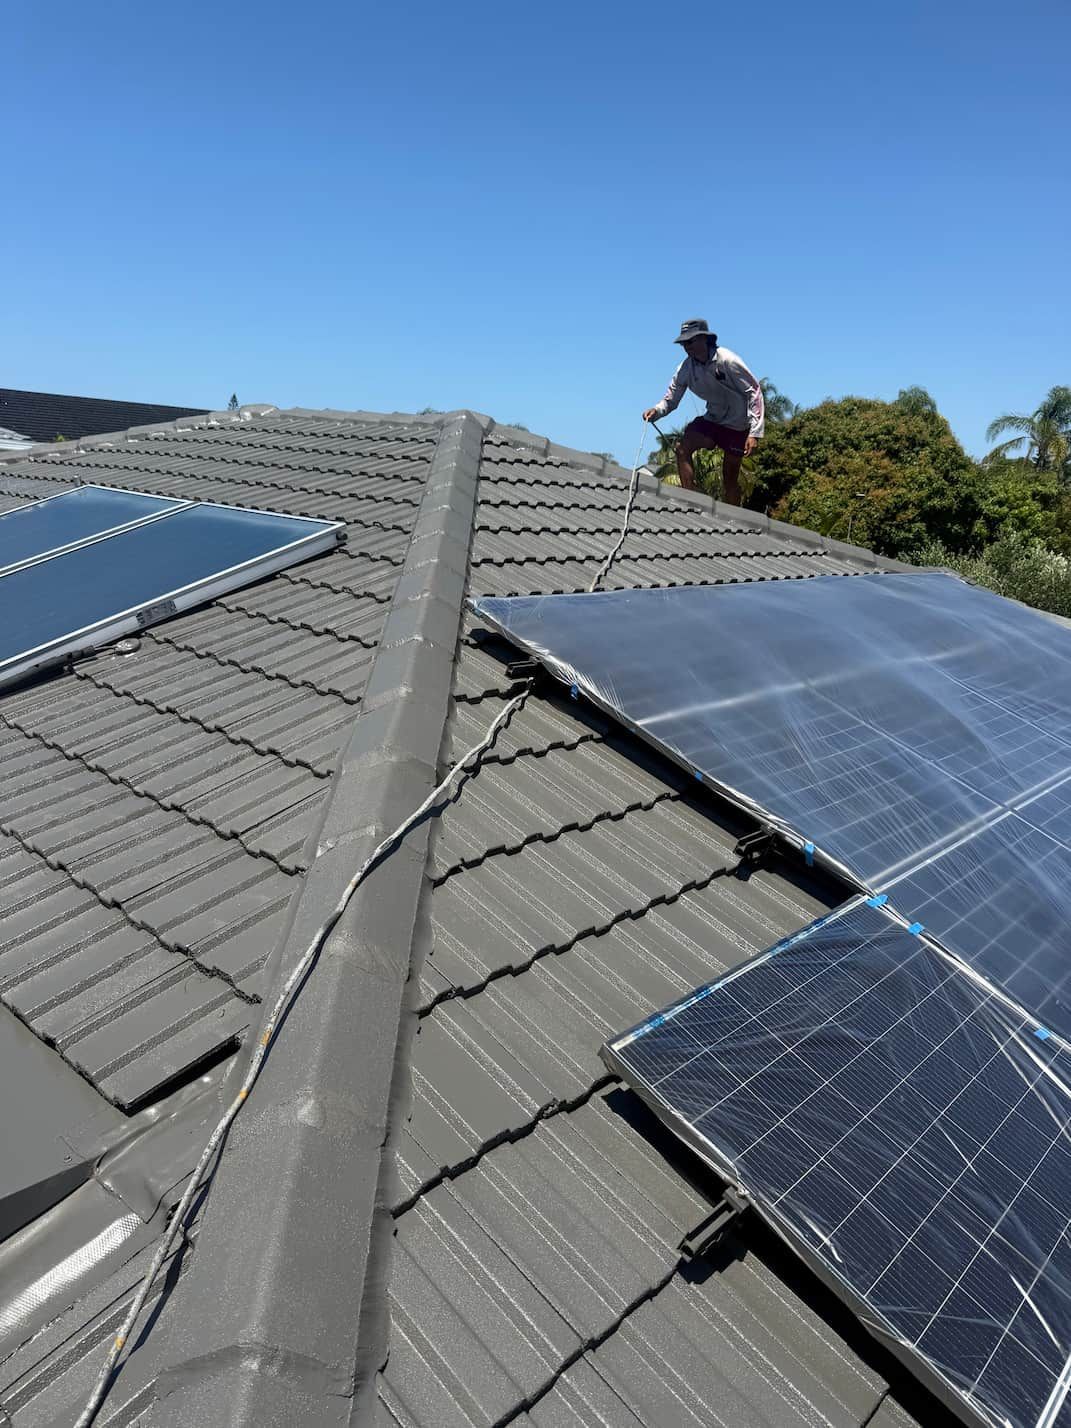
Step 6: Reseal Roof Penetrations
Any item that penetrates the roof surface can become a potential leak point.
Common roof penetrations include:
- Vent pipes
- Skylights
- Exhaust vents
- Solar panel mounts
The sealant around these areas can deteriorate over time due to sun exposure and weather conditions.
Applying new roof sealant around these penetrations can restore the waterproof barrier.
Temporary Roof Leak Fixes
In some cases, you may need a temporary solution to stop water entering the home until proper repairs can be carried out.
Temporary fixes may include:
- Placing a waterproof tarp over the affected area
- Applying roofing tape or sealant
- Catching water with buckets inside the home
While these solutions may help minimise damage, they should not replace proper roof repairs.
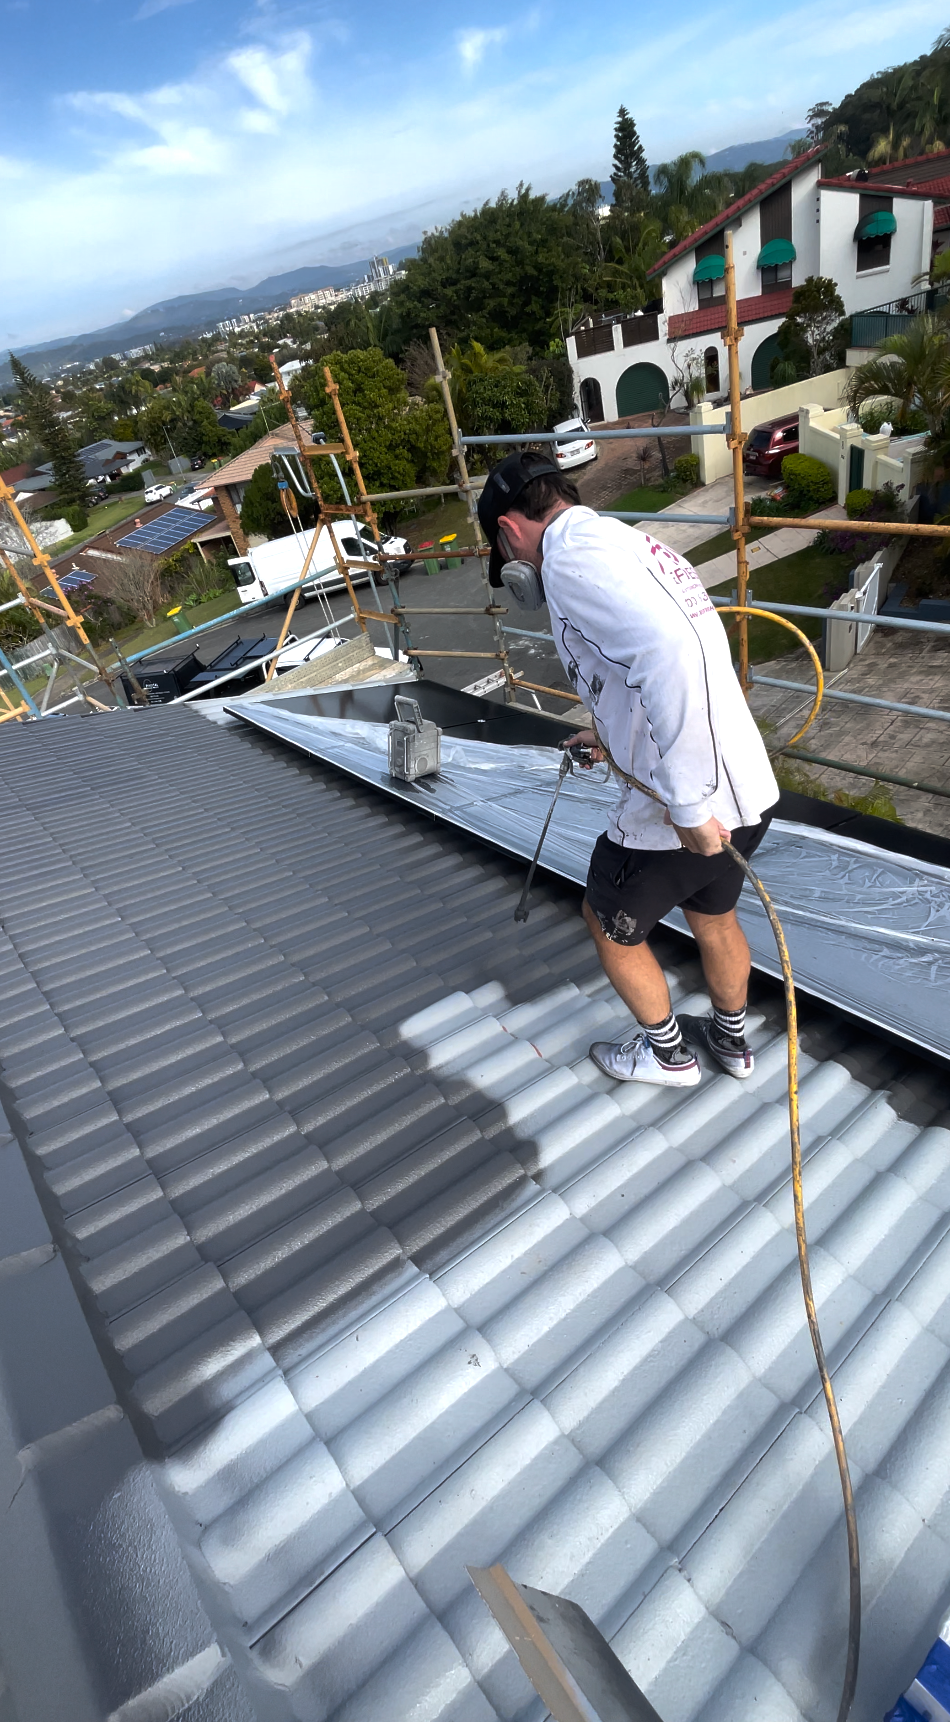
Why Professional Roof Repairs Are Important
While some minor issues may be easy to identify, roof repairs often require professional expertise.
Working on roofs can be dangerous without the proper equipment and experience. In addition, incorrect repairs may lead to further problems later.
Professional roofers have the tools and knowledge to:
- Identify hidden roof damage
- Repair roofing materials correctly
- Ensure flashing and sealing is installed properly
- Carry out repairs safely
Hiring a professional can help ensure the repair is done properly and prevent ongoing leaks.
Preventing Future Roof Leaks
Regular roof maintenance is the best way to reduce the risk of leaks.
Some preventative measures include:
- Cleaning gutters regularly
- Removing debris from roof valleys
- Inspecting the roof after storms
- Replacing damaged tiles promptly
- Checking flashing and roof penetrations
Scheduling periodic roof inspections can also help identify small problems before they become major issues.
Final Thoughts
Repairing a roof leak begins with identifying the source of the problem. Whether the issue is cracked tiles, damaged flashing, blocked gutters, or worn sealant, addressing the problem quickly can help prevent costly water damage.
While some minor issues may be straightforward to fix, many roof repairs require professional expertise to ensure the roof remains fully watertight.
Regular maintenance and prompt repairs are the best way to keep your roof in good condition and protect your home from leaks.

Written by Reece Worboys
Reece has been in the Gold Coast roofing game for over 15 years and is a trade-qualified roof plumber and painter/decorator. He's also a QBCC licensed supervisor and roofing contractor.